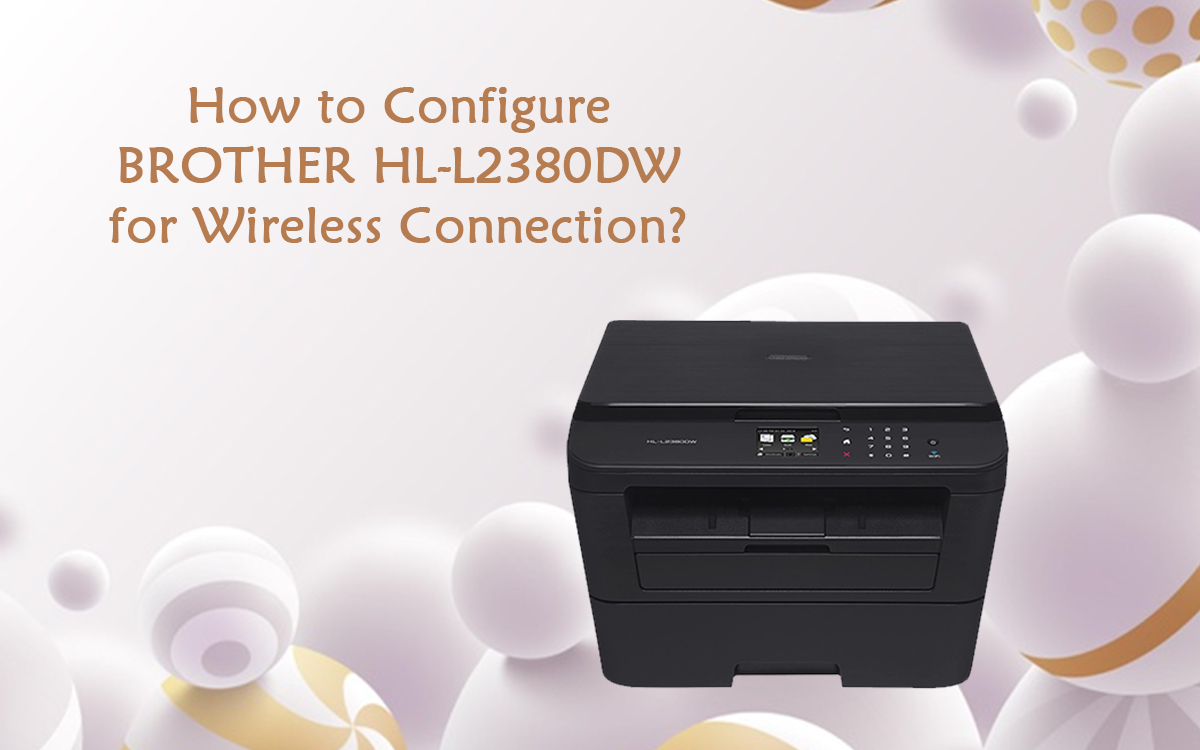
How to Configure Brother HL-L2380DW for Wireless Connection?
Brother printers are one of the leading printing brands due to their ultra-edging features. It is one of the most common printers used in both homes and offices. Among its several models, Brother hl-l2380dw is the best and has a low maintenance cost. It provides vast functionalities, but in some instances, you would want to know how Brother HL-L2380DW connect to WiFi. In this blog, we will discuss the methods to connect your Brother Printer to the WiFi network.
Wireless Network Connection Settings
Step 1: To start, you must open your PC and search for Wireless Network Connection.
Step 2: Next, select the option– Set up and choose the wireless network.
Step 3: Now, you can choose–Connect and select the option– Connect Anyway.
Step 4: Thereafter, you can wait until the time; you see that your wireless is connected.
Alternative Tips
Step 1: At the First step, open the Settings
Step 2: Next, you can select the option– All Settings.
Step 3: Under it, you can choose the Network option and click on the OK button.
Step 4: Choose WLAN and press OK.
Step 5: Click on the up or down button to select the WPS Pin Code option.
Step 6: Now, on the next screen, you will enable the wireless network to begin the setup wizard.
Step 7: Type the eight-digit PIN on the screen, and keep in mind that pin for the future.
Step 8: Now, you will see that the printer will start searching for a wireless network.
Step 9: Open a web browser connected to the wireless network and type the access point's IP address.
Step 10: After entering the IP address, you must open the Settings Page of WPS and enter the PIN.
Step 11: Now, follow the on-screen instructions to configure the brother hl-l2380dw wireless setup on the network.
Step 12: Select your printer and click on Next.
Step 13: Now, choose the network and click on the Next button.
Step 14: After establishing the connection, your printer will print the wireless status report.
These steps will help in brother hl-l2380dw wireless setup and if you want to know about setting up windows and Mac, follow the guidelines hereby given below.
Brother HL-L2380DW Wireless Installation for Mac
Your brother hl-l2380dw connects to WiFi on Mac easily by following the trailing points mentioned below.
Step 1: You must download the drivers of the Brother HL-L2380DW printer.
Step 2: Next, you can choose the OS for your PC.
Step 3: Hover double-click on the .dmg file that you have downloaded in your system.
Step 4: Next, you can double click on the .pkg file that is the installer package and follow all the instructions to complete the installation.
Step 5: Once the installation completes, you have to restart your device.
Brother HL-L2380DW Wireless Installation for Windows
To install Brother HL-L2380DW Wireless Setup for Windows, you must follow the steps mentioned below
Step 1: At the first step, download the Brother HL-L2380DW printer driver.
Step 2: Next, choose the system operation of your PC.
Step 3: Hover, double-click on the file you have downloaded.
Step 4: Select the option– Unzip
Step 5: Now, you have to open the folder that appears before you and double-click on the file– D_SETUP.exe.
Step 6: You will notice that the installation is ready to begin.
Step 7: Follow all the steps to finish the installation process.
Step 8: Once the installation is complete, you can restart your device and test your printer.
Luckily by following these steps, you can solve the issues on your own, and if you need any assistance related to the brother hl-l2380dw wireless setup, you can get in touch with technical advisors.
Related Blogs
brother hl-2280dw wireless setup
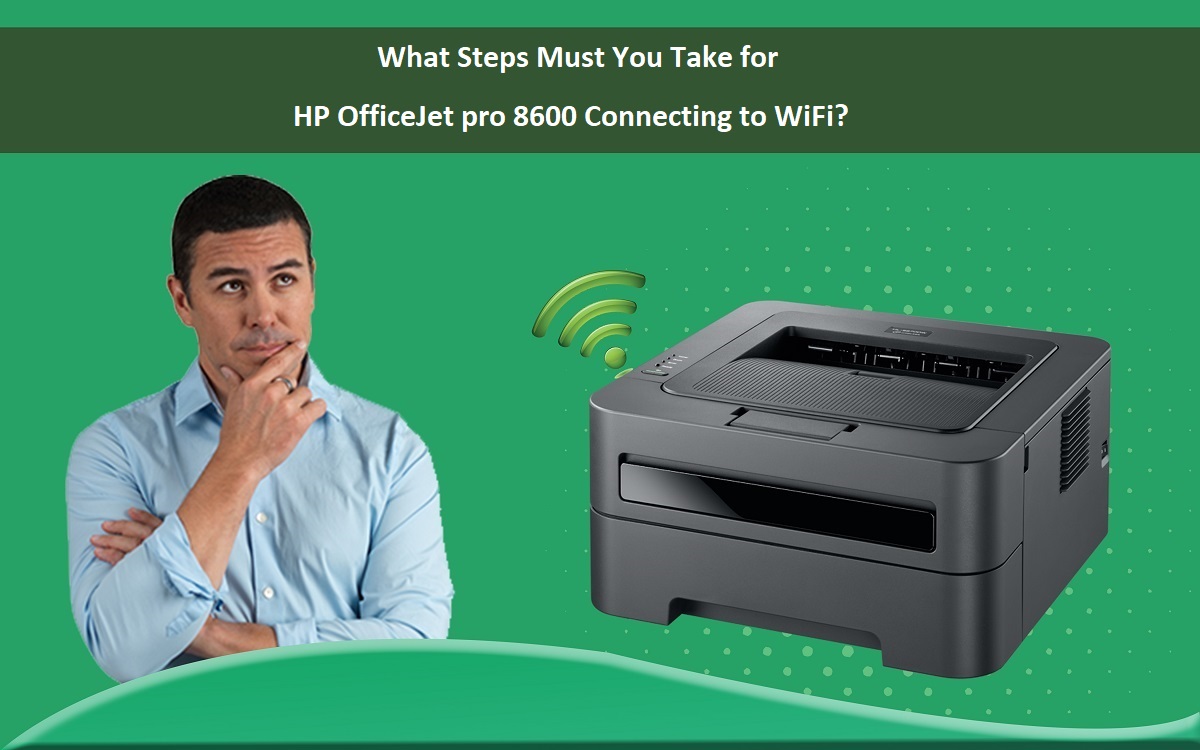
What Steps Must You Take for HP OfficeJet pro 8600 Connecting to WiFi?
HP OfficeJet pro 8600 is one of the best-looking printing devices with the best quality printing around the world. But some instances make take place, and many users get worried over it. One of the concerns regarding the issue is HP OfficeJet pro 8600 Connect to WiFi. However, if you're stumbling over the issue of not connecting to WiFi, this guide will help you by following the troubleshooting guidelines.
Guidelines to Troubleshoot HP OfficeJet pro 8600 Connecting to WiFi
Step 1: Launch the Start menu and Go to the control panel of the Printer.
Step 2: Choose the Wireless option from your control panel and navigate to the wireless setup wizard.
Step 3: Hit on OK button, and after this, you can figure out the appropriate network name i.e., available in the list.
Step 4: Now, manually enter the network setup you were searching for.
Step 5: Type the password in the prompt display, and after that, you can hit on OK button.
Step 6: For scanning or printing, you can choose the PC files to verify the whole wireless setup.
Step 7: If you require an update for the printer setup, you must install the latest version software to avail of all the printer's new services.
Step 8: Lastly, HP OfficeJet pro 8600 connect to WiFi as you use the settings for wireless setup.
What Can You Do If Require Any Technical Assistance from the Representatives?
If you require any help regarding HP OfficeJet pro 8600 connect to WiFi, you must get in touch with our certified expert professional for immediate assistance and get all your issues fixed quickly.
Related Blogs
connect hp deskjet 3632 to wifi
hp officejet pro 6978 wireless setup
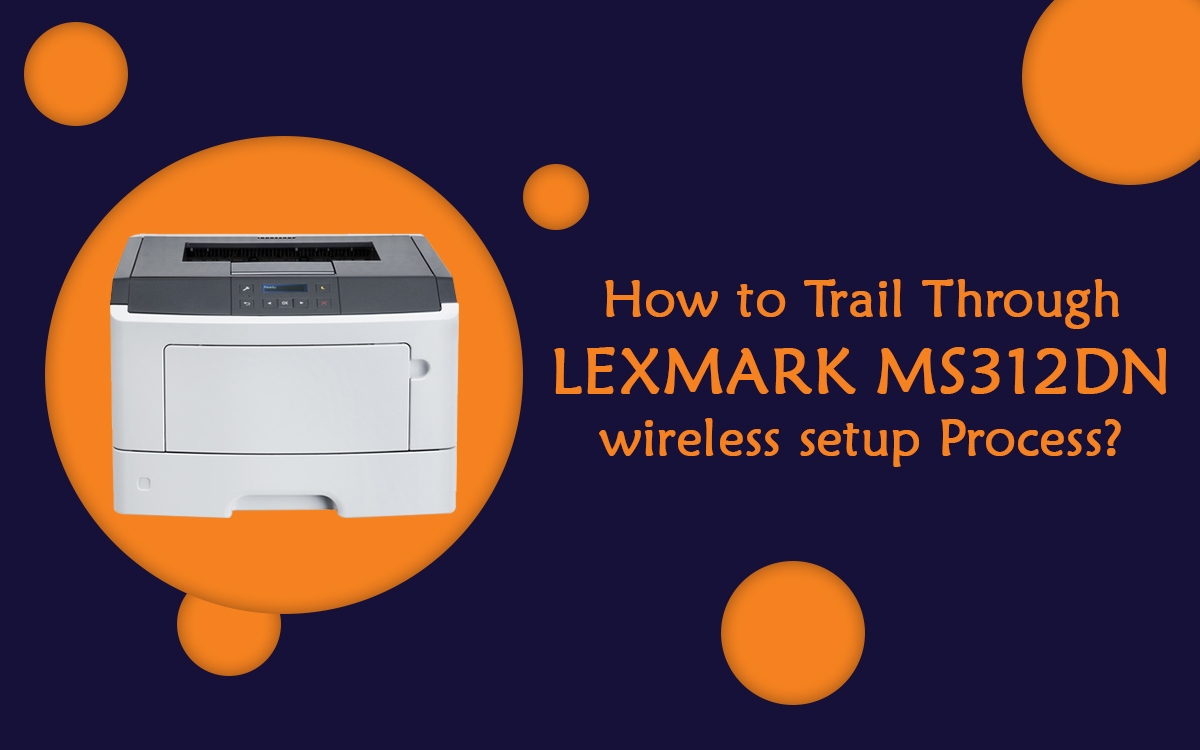
How to Trail Through Lexmark ms312dn Wireless Setup Process?
Lexmark is a major printing device manufacturer that manufactures various types of printer models such as Lexmark ms312dn. If you have a Lexmark printing device and are looking for a quick Lexmark ms312dn wireless setup, you must follow this blog post and know how to do the wireless setup.
Quick Guidelines for Lexmark ms312dn wireless setup
Check if your PC and network are compatible.
Before you proceed ahead to add your Lexmark printer to the wireless network, first, you need to make sure if your PC and network are compatible with each other. See if your computer specifications meet the minimum requirements needed to connect the wireless network.
Find your printer's software.
If you have a printer driver CD, then you can install these drivers from the CD. If you don't have the printing machine driver's disc, you can download the Lexmark ms312dn manual drivers from the official website.
Run the setup process
- Double-click on the software file to run the printer setup process.
- Turn on your printer.
- In case your printer is compatible with Lexmark Wireless Connect, it will prepare the device to connect to the computer.
Select network
Follow all the on-screen instructions till you reach the Network area.
Wait for your printer to connect.
You can find your printing device and send your wireless settings to the printer by clicking on Yes button. Now, you can connect your device and see the message of confirmation on your display.
Finish the setup
Follow the rest of the on-screen instructions to complete the setup process. Once the whole setup process, you can start printing.
In this manner, you can do Lexmark ms312dn wireless setup, and you can connect your device properly.
Related Blogs
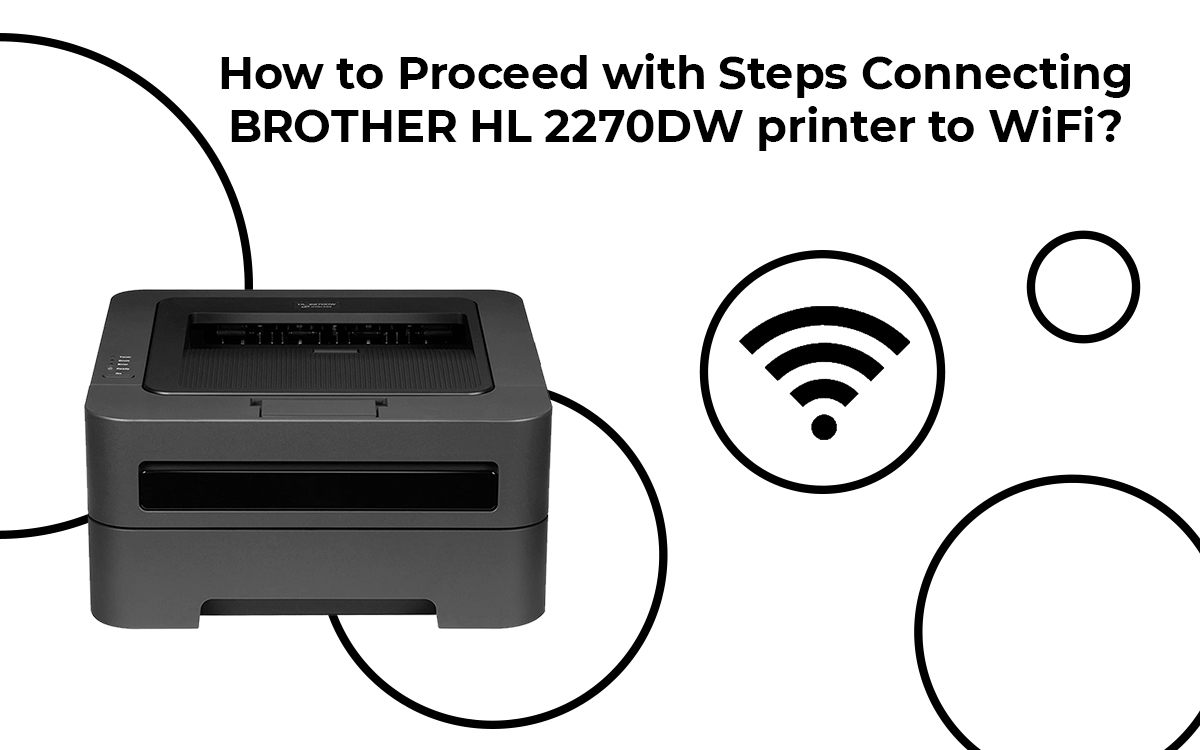
How to Proceed with Steps Connecting Brother hl 2270dw printer to WiFi?
Are you looking for useful tips– How to Connect Brother hl 2270dw printer to WiFi? Well. It's very trickier, easier, and simple. If one has a WLAN access point or router that supports WPS, also popularly known as Air Station One-Touch Secure System, you can easily connect the Brother printer to the wireless network.
Useful Steps to Connect Brother hl 2270dw printer to WiFi
Step 1: At the first step, you can connect the power cable to the router's back and then plug it in.
Step 2: Next, ensure that you do not connect the USB cable.
Step 3: Now, switch on the printer and wait for some time to boot up and then click on the Go button, i.e., visible on the top of the Printer screen.
Step 4: Now, you can insert the Brother Installation disc drive on your PC and then hit on the option– setup.exe.
Step 5: Hit on the option– Brother HL-2270D visible at the bottom of the window.
Step 6: Tap on the preferred language to proceed further.
Step 7: Hit on the Installed Printer Driver option and then click on the Yes option.
Step 8: Tap the Installed Printer Driver option available on the top of the window and then hit on option– Yes to make changes to your PC.
Step 9: Hit on the Yes option to agree on the License agreement and then tap on the option– Wireless connection.
Step 10: You can select the option– Change the Firewall port settings to enable the network connection and then continue with the installation process.
Step 11: Enter your password in the Network Key and then retype it in the required field for Confirm Network Key and then tap– Next option.
Step 12: Hit on the Finish option to connect the brother hl-2270dw printer to WiFi.
Get Connect with Our Technical Expert Team for Immediate Assistance
If you are still confused over connecting brother hl 2270dw printer to WiFi, you can get in touch with us directly. Our team members will resolve all sorts of issues in time.
Related Blogs
connect brother hl-l2340dw to wifi
Steps for Canon Ts3122 Wireless Setup & Troubleshooting Tips For Printing Issues
Canon TS3122 Printer has recently received commendable responses from the users about the performance and print quality. However, as you are not aware of the wireless printer's new and updated functionality, we are here to solve the issue. Your canon printer can easily connect to Wi-Fi, whether on Mac or Windows. Hence, if you want to know how to connect canon TS3122 printer to WiFi, refer to the following steps.
Steps To Connect Canon TS3122 Printer To Wi-Fi
Before starting the procedure for how to connect canon TS3122 printer to WiFi, you need to ensure that your wireless network and printer are turned on. Both of them must show green lights when the device is on.
- You need to check if the light is blinking, then you may tap on the Stop button to stop the lights from blinking.
- Then the user needs to press and hold the direct button till its settings option shows up. Then tap the Direct button through which the printer will directly enter into the wireless connect mode where the icons will be displayed on the printer screen.
- After that, you will have to insert the CD that has been received and the printer to guide for the installation of the software.
- You can choose whether you want to download the installation files from the official website of Canon Printers.
- Once you download the software, you need to click on the setup option and enter your product's name and move further.
- If you are using it for the first time on your computer, you need to select the device's name, which is a Windows PC.
- Then, click on the 'Connect the Printer to Windows PC' option. Next, please tap on the download option and when it is done, click on the Run option.
- Now, you need to search and open the downloaded file from the computer to initiate it. Next, click on the startup setup option and wait for a few minutes for the setup for it to perform its task.
- After it is done, fill in the details required and tap on Agree. Keep on tapping that option until the terms and conditions appear. Then you need to click Yes to continue to connect with a wireless connection.
- Now, you need to select the Wi-Fi network and enter the password and then tap on Next. Now, more setup windows will start running to complete the setup. This may take a while till the connection is completed successfully.
After following the steps given above, you will know how to connect canon TS3122 printer to WiFi. However, we would like to add here in this article are canon printer problems and solutions. At times the printer may have issues with printing, and to solve them, you can refer to the following steps given below.
Some Canon Printer Problems And Solutions
Very often, printer issues send business owners and employees into a panic. While the printer problems are understandably annoying, some may be easily resolved without technical assistance. Below are a few canon printer problems and solutions.
- Printer does not print
If you face issues like the Printer does not print, try checking if the printer is properly plugged and turned on. The machine begins printing once the ON lamp is lit and not really flashing.
- Paper jam
Sometimes there is a warning message or an alarm that notifies you when the paper is jammed in your printer. The first thing that you must do is to turn off the printer and unplug it. After that, you need to gently pull out the jammed paper without touching the film or rail. Ensure that no slips of paper are left inside.
By following the above steps, you will know how to connect canon TS3122 printer to WiFi while also resolving printing issues with the solutions given above in the canon printer problems and solutions section.
Related Blogs
How Can You Connect Brother HL-L2340 Printer to WiFi?
In the growing tech era, nobody in this world wants to keep their printer connected through the long cable. Everyone believes to connect brother hl-l2340dw to WiFi using the wireless feature, this is a quite easy feature, and it keeps your devices connected to WiFi.

Connect your printer via password
- Power on your brother's printer and wait to get the solid blue power light on your printer.
- Click the menu key on your printer and navigate to the network once you reach the device.
- Hit OK and scroll up to reach the WiFi setup.
- Select your network name from the list and click the next button.
- Fill in the password and press OK.
- Finally, your brother printer gets connected via password.
Use the WPS method to join the network-
If you don't remember your password, you can use the WPS method to join the network and Power on your printer and WiFi router. Next, press the wireless button on your printer, and wait until you see a solid light.
If your printer will find the router and connect itself to the WiFi, you will see the solid green or blue WiFi indicator light. But if it shows other views, there are two common methods to connect a printer to the WiFi using the printer driver.
At the first step, you can attach your printer to the PC using a USB cable and then run the setup. Once you complete the installation process, choose a wireless or network printer and Hit on Computer settings to connect the printer to the network. Now, your computer will automatically transfer the network details into the printer, and it will join the WiFi network.
Once you connect your brother printer to the WiFi network, you can start printing. However, if you face any issue with your brother printer no paper error, you can reach specialists to resolve the issue.
Related Blogs
how to connect brother hl 2270dw printer to wifi
Why Is My Avast Cleanup Premium not working?
Avast cleanup is a high quality tool that enhances the performance of your PC, get back disc space, and also solve tiny issues such as– Avast cleanup premium not working. It moves every one of the solutions to enhance the functioning of your respective PC. In a power-saving manner, Avast Cleanup finds power escapes and prevents it once they aren't being used.

What things to Do When Avast Clean Up Premium Not Working?
Solution 1: Uninstall the Program
Windows 10
- Ensure that no other antivirus software is installed on your own PC
- Right-click on the Start option and then you can select Apps and Features from the menu.
- Ensure that the Apps and Features are chosen in the left panel and select Avast Cleanup and choose Uninstall
- Select Yes if called for permission the User Account Control
- Once the Avast Cleanup Premium setup appears, just choose Uninstall
- Now, select Uninstall to verify the uninstallation
- Wait a little while unless setup uninstalls the Avast Cleanup from the PC and then, select Done to complete the uninstallation step
Android
- Firstly, open your device Settings and then, head to the Apps
- Select the option– Avast Cleanup and then, tap on Uninstall
- Now, tap on Ok to verify the uninstallation
- Avast Cleanup is currently uninstalled from your own Android device
- Ultimately, reinstall this program
Solution 2: Re-install Avast Cleanup
- Ensure that no other antivirus or application is running on your own PC
- Now, download the Avast Cleanup Premium setup file from official website and then, save it to a common location
- Right-click on the downloaded setup file and then Select– Run as administrator from the context menu
- If called for permission by the User Account Control dialog then, select Yes
- Once Avast Cleanup opens, check the End User License Agreement and Privacy Policy and select Install Now
- Wait while setup installs Avast Cleanup Premium on your own PC. You will discover two option Purchase and Activate
Your Avast Cleanup Premium Subscription is currently active. Follow most of the above-given steps to repair the issue. However, if you intend to know more about just how to disable Avast antivirus, feel free to obtain touching representatives.
Related Blogs