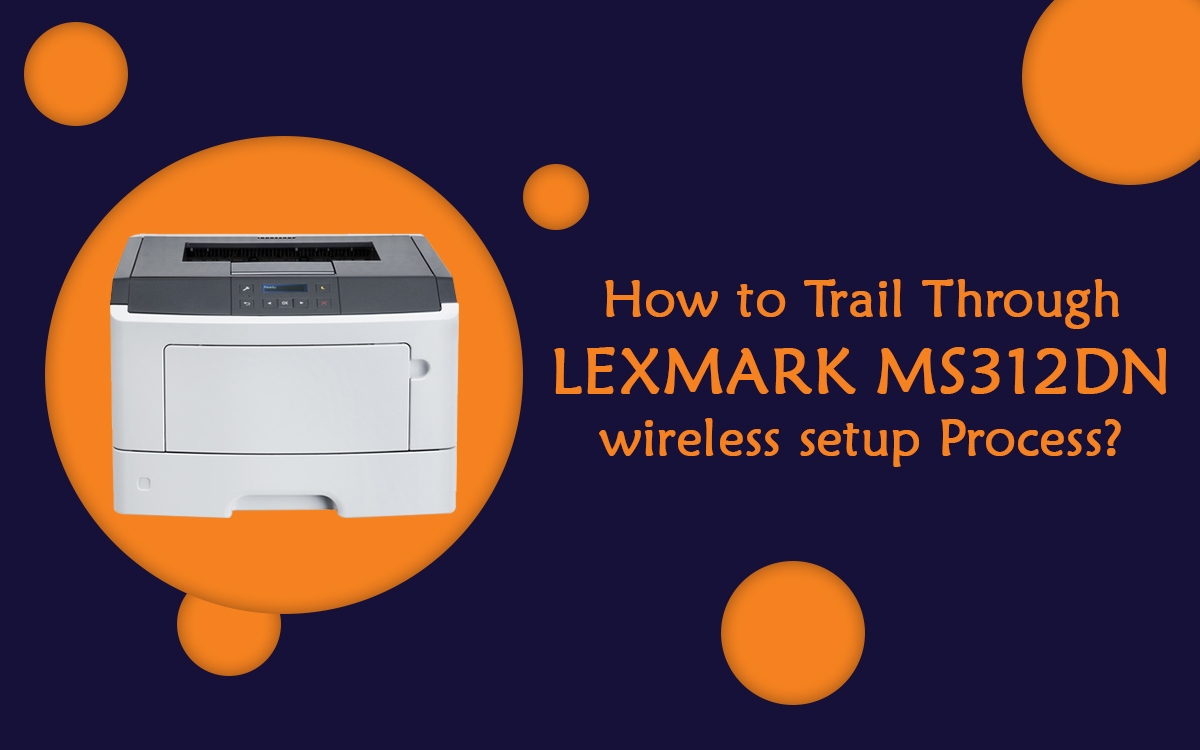
How to Trail Through Lexmark ms312dn Wireless Setup Process?
Lexmark is a major printing device manufacturer that manufactures various types of printer models such as Lexmark ms312dn. If you have a Lexmark printing device and are looking for a quick Lexmark ms312dn wireless setup, you must follow this blog post and know how to do the wireless setup.
Quick Guidelines for Lexmark ms312dn wireless setup
Check if your PC and network are compatible.
Before you proceed ahead to add your Lexmark printer to the wireless network, first, you need to make sure if your PC and network are compatible with each other. See if your computer specifications meet the minimum requirements needed to connect the wireless network.
Find your printer's software.
If you have a printer driver CD, then you can install these drivers from the CD. If you don't have the printing machine driver's disc, you can download the Lexmark ms312dn manual drivers from the official website.
Run the setup process
- Double-click on the software file to run the printer setup process.
- Turn on your printer.
- In case your printer is compatible with Lexmark Wireless Connect, it will prepare the device to connect to the computer.
Select network
Follow all the on-screen instructions till you reach the Network area.
Wait for your printer to connect.
You can find your printing device and send your wireless settings to the printer by clicking on Yes button. Now, you can connect your device and see the message of confirmation on your display.
Finish the setup
Follow the rest of the on-screen instructions to complete the setup process. Once the whole setup process, you can start printing.
In this manner, you can do Lexmark ms312dn wireless setup, and you can connect your device properly.
Related Blogs